If you’ve ever stood over a clogged toilet or slow-draining sink wondering what you’re doing wrong, you’re not alone. A plunger seems simple, but using it the wrong way can waste time, make a bigger mess, or barely move the clog at all. The truth is, most “plunger fails” come down to one thing: poor seal and bad technique.
In this guide, we’ll break down how to use a plunger the right way for toilets and sinks, what type of plunger you actually need, and when it’s time to stop plunging and call in a pro. If you’re in Hanover, MA or anywhere on the South Shore, Efficiency Plumbing, Heating & Air is here when a clog won’t quit.
Why Knowing How to Use a Plunger Matters
A plunger is one of the fastest, cheapest tools for clearing common clogs. When it works, it saves you the hassle of taking pipes apart or spending money on unnecessary drain cleaners. Even better, plunging is usually safer for your plumbing than pouring harsh chemicals down the drain.
But there’s a right way and a wrong way to do it. A plunger doesn’t “push” the clog out. It creates pressure changes that loosen debris so water can flow again. To make that happen, you need a tight seal and controlled plunges—not aggressive splashing and panic pumping.
Use the Right Plunger First
Before you even start, make sure you’re using the correct tool. This is where most people go wrong.
Toilet Plunger (Flange Plunger)
A toilet plunger has an extra rubber flap or “flange” that sticks out from the bottom. That flange helps it fit into the toilet drain opening and creates a tight seal.
If you’re trying to unclog a toilet with a flat sink plunger, you’re making the job harder than it needs to be.
Sink Plunger (Cup Plunger)
A sink plunger has a flat rubber cup. It’s designed for flat surfaces like sinks, tubs, and shower drains. It can work on a toilet in a pinch, but it won’t seal as well.
If you want results fast, match the plunger to the drain.
How to Use a Plunger on a Toilet
Toilet clogs are usually caused by too much toilet paper, “flushable” wipes, hygiene products, or small objects that shouldn’t have gone down there. If the toilet bowl water is high, your first move is preventing an overflow.
Start by turning off the water supply valve behind the toilet if you think it might spill over.
Step 1: Get the Water Level Right
A plunger needs water to work. If the bowl is too low, add enough water to cover the rubber end of the plunger. If it’s too high, remove a little water with a cup so you have room to plunge without a disaster.
Step 2: Set the Plunger and Create a Tight Seal
Place the plunger directly over the drain hole at the bottom of the bowl. Push down gently at first to force air out and get full contact. That seal is everything.
If you don’t have a good seal, you’re just stirring the water.
Step 3: Plunge With Control
This is where technique matters. Don’t just slam it up and down as fast as possible. Use strong, steady plunges to build pressure.
A solid approach is 10–20 controlled plunges without breaking the seal. Push down firmly, then pull up slightly without lifting it off the drain opening. You want pressure changes, not splashing.
Step 4: Check If It Drains
After plunging, lift the plunger out and see if the water level drops. If it drains slowly, you may need a second round. If it drains quickly, flush once to confirm it’s fully cleared.
If the toilet still won’t drain after a couple rounds, stop. Repeated flushing can overflow the bowl, and that turns a clog into a clean-up job.
How to Use a Plunger on a Sink
Sink clogs are usually caused by food, grease, soap scum, hair, or gunk buildup in the P-trap. Plunging can work surprisingly well if you set it up correctly.
Step 1: Block the Overflow Opening
Most bathroom sinks have an overflow hole near the top. If you don’t cover that hole, plunging won’t build pressure because air escapes through it.
Use a wet rag to plug the overflow opening tightly. If you have someone else available, have them hold the rag in place while you plunge.
Step 2: Add a Little Water
You need enough water in the sink to cover the plunger cup. That water helps create suction and pressure. If the sink is empty, add a few inches.
Step 3: Seal and Plunge
Place the sink plunger flat over the drain opening and press down to form a seal. Plunge firmly 10–15 times with controlled strokes.
Then lift the plunger and see if the water drains.
If it starts to move but not fully, repeat one more time. Many sink clogs loosen gradually.
Step 4: Run Hot Water After
Once the clog clears, run hot water for a minute to push loosened debris through. This helps prevent it from re-clogging right away.
How to Use a Plunger on a Tub or Shower Drain
Tub and shower drains usually clog from hair and soap buildup. The steps are similar to a sink:
Make sure there’s enough water to cover the plunger
Seal the drain opening and plunge steadily
Cover the overflow plate (very important in tubs)
If you can’t get a seal because of the tub drain design, plunging might not be the best option. That’s where a drain snake becomes more effective.
Mistakes That Stop a Plunger From Working
If plunging isn’t working, it doesn’t automatically mean the clog is impossible. It often means something is off in the setup.
Here are the most common mistakes homeowners make:
-
Using the wrong type of plunger
-
Not getting a tight seal
-
Plunging with air instead of water
-
Forgetting to cover sink or tub overflows
-
Plunging too aggressively and breaking the seal repeatedly
-
Flushing over and over instead of plunging properly
One good round of correct plunging beats five rounds of chaotic plunging every time.
Should You Use Drain Cleaner Instead?
We get it—drain cleaner sounds like the easy button. But chemical drain cleaners aren’t always a good idea. They can damage certain pipes, they don’t always clear the blockage, and they can create a dangerous situation if you later need to take pipes apart or call a plumber.
If plunging didn’t work, it’s usually smarter to move to a drain snake or call a professional rather than dumping chemicals down the line.
When to Stop DIY and Call a Plumber
Sometimes a plunger won’t fix the issue because the clog is deeper in the line, more solid, or caused by something that doesn’t break apart.
Call Efficiency Plumbing, Heating & Air if:
The toilet clogs repeatedly
Multiple drains are backing up at once
You hear gurgling sounds from other drains
Water backs up into a tub or shower when you flush
Plunging doesn’t make any improvement after two attempts
You suspect wipes, toys, or objects are stuck in the line
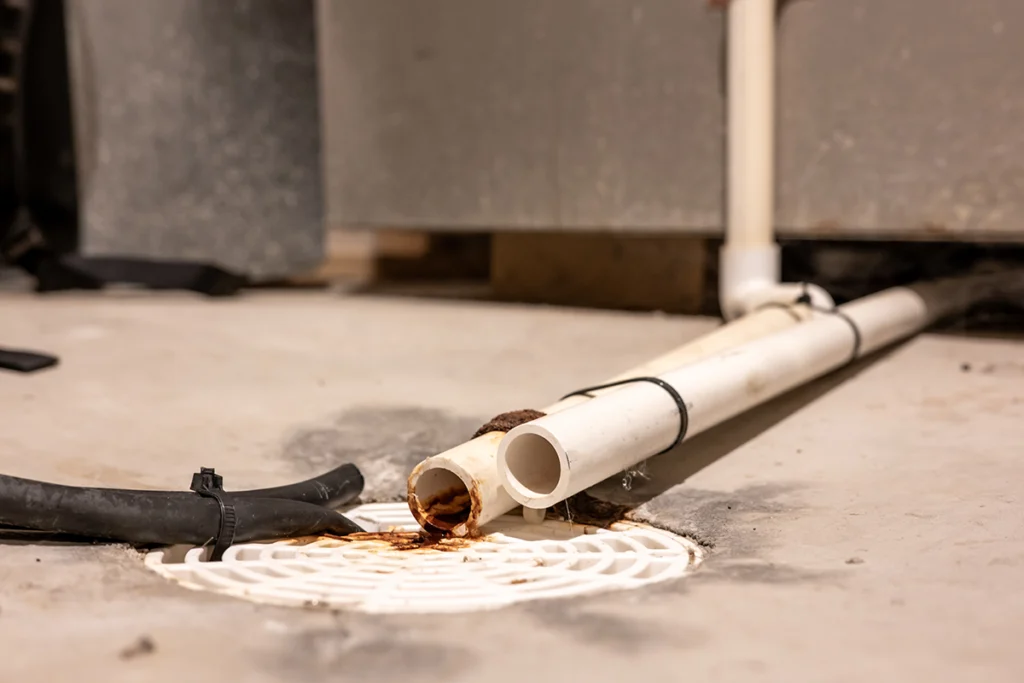
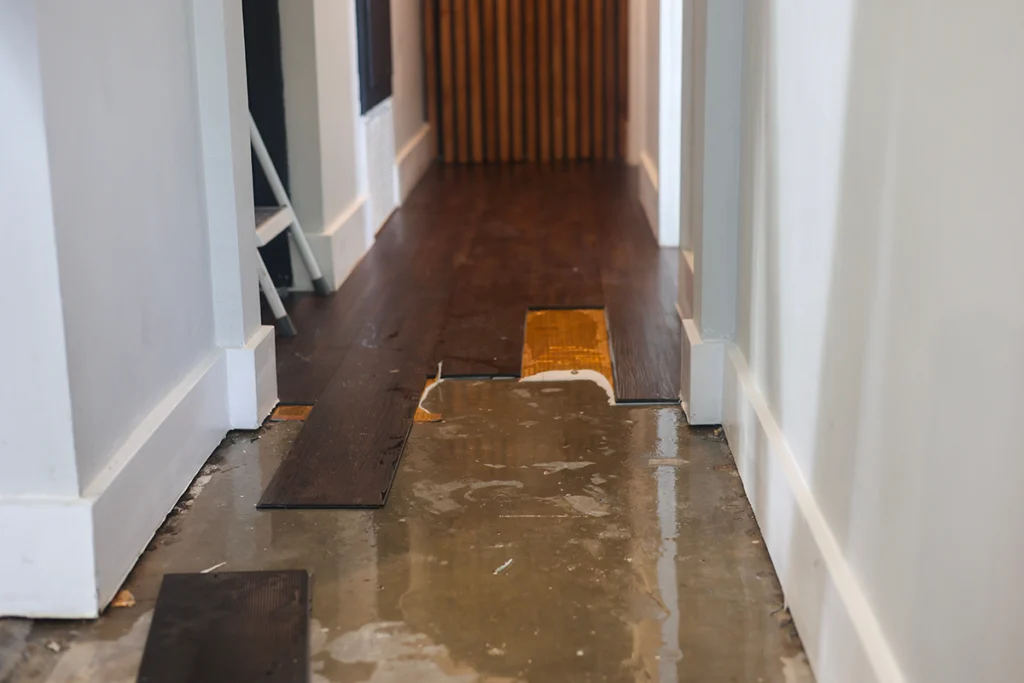
Those signs often point to a bigger blockage in the drain line or sewer line, not just a simple clog near the surface.
Need Help With a Stubborn Clog in Hanover, MA?
Knowing how to use a plunger the right way can save you time and frustration, and it’s one of the easiest homeowner skills to have. But if the clog won’t clear, keeps coming back, or is affecting multiple drains, it’s time to bring in a pro.
If you’re in Hanover, MA or anywhere nearby on the South Shore, call Efficiency Plumbing, Heating & Air. We’ll find the cause of the clog, clear it safely, and get your drains flowing again without the trial-and-error.